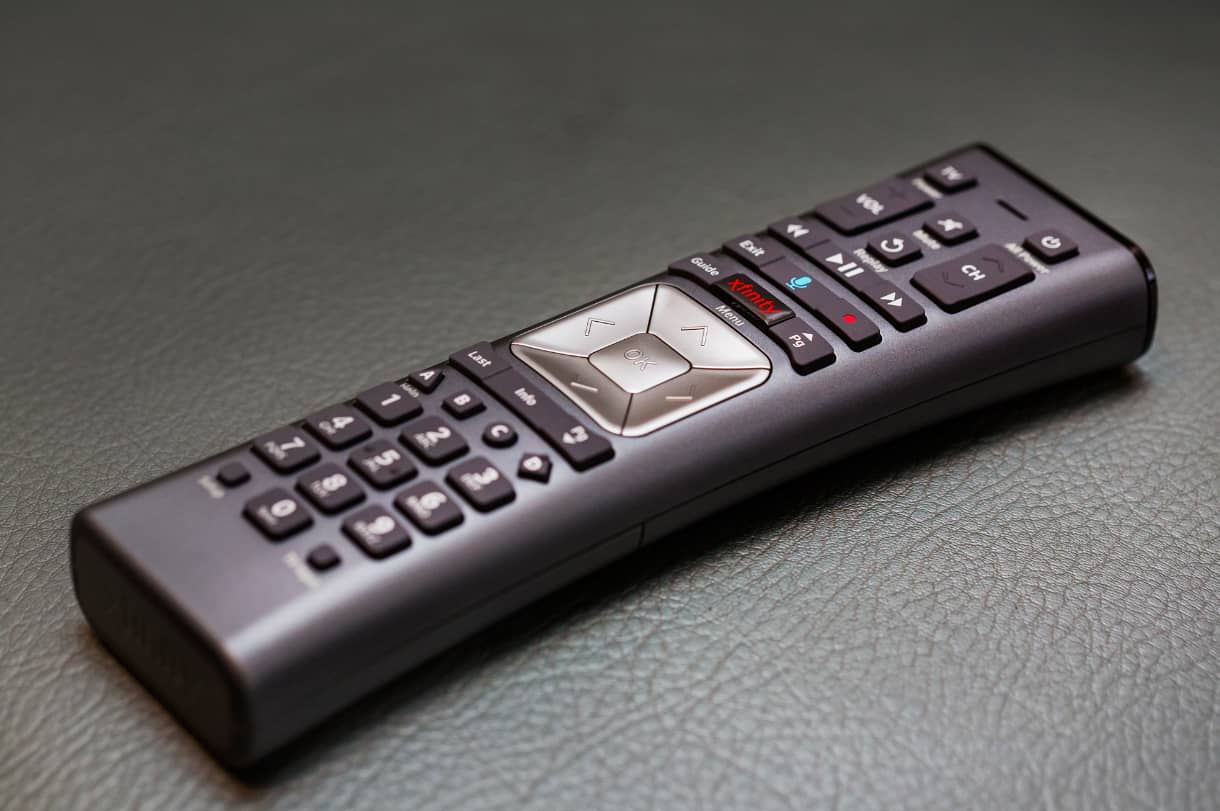
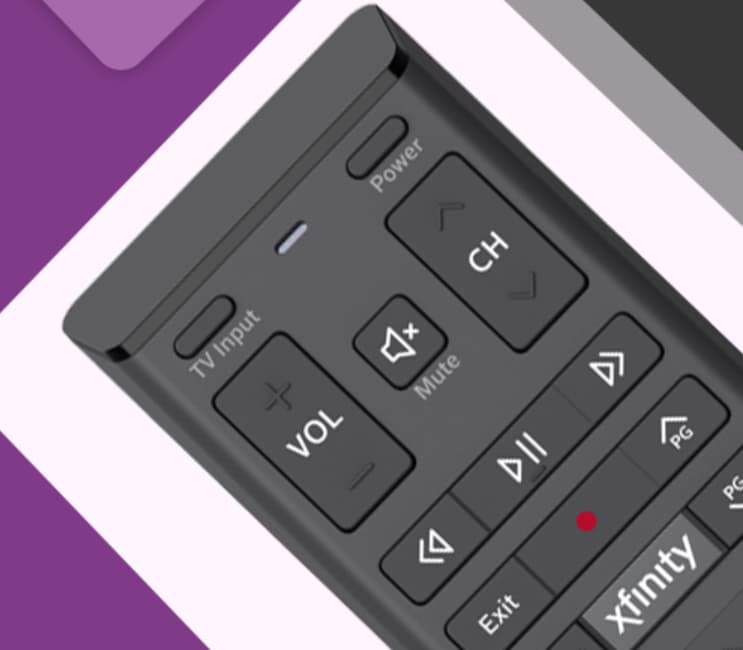
You sit down on the couch, excited to watch the new show you’ve been hearing so much about. You pick up your Xfinity remote and press the power button.
But instead of turning on your TV, the remote starts flashing green and then red. Uh oh. You’re probably wondering – why my Xfinity remote keeps flashing between green and red.
And more importantly, how do I fix this frustrating issue? Keep reading to find out.
Why is My Xfinity Remote Flashes Green Then Red?

Reasons Your Xfinity Remote Flashes From Green to Red
Before diving into the fixes, it’s important to understand the underlying causes of this problem. There are a few main culprits that can trigger the flashing green and then red behavior:
- The batteries are dying – Like any remote, low battery power can cause connection issues with your Xfinity remote. As the charge depletes in one or both batteries, it may fail to reliably send signals.
- You’re out of range – Your remote can transmit signals up to 50 feet if there’s a clear line of sight between it and the cable box. If you exceed this distance or have obstructions in the way, the signal strength drops, leading to blinking lights.
- Physical damage – Dropping your remote or spilling liquid on it can physically damage internal components, interrupting normal function. This is particularly true if buttons become stuck.
- Interference – Other devices emitting electronic signals can cause interference, blocking communication between your remote and cable box. This disruption manifests as blinking indicator lights.
In most cases, the blinking is a warning sign alerting you to an underlying connection issue between the remote and your devices. Thankfully, many quick troubleshooting steps can get your remote working properly again.
Fixing A Blinking Green Then Red Xfinity Remote – Top 7 Methods

Below are 7 simple yet effective solutions that have helped many users stop the annoying green/red blinking on their Xfinity remote:
-
1. Get Within 50 Feet of Cable Box
Your Xfinity remote utilizes “Aim Anywhere” technology, allowing control from any direction when within the operating range. Be sure you’re within 50 feet of the cable box for reliable functionality.
If you move closer and the blinking stops, distance is the issue. Consider repositioning devices so everything stays within operating range.
-
2. Replace the Batteries
Low battery power is one of the most common reasons for remote flashing. Simply inserting fresh AAA batteries often resolves connection problems.
- Turn remote off
- Remove battery cover
- Insert new batteries
- Replace cover
Use reputable brand batteries for the longest lifespan. And consider keeping spares on hand for future dead battery situations.
-
3. Restart Cable Box
Restarting the cable box essentially functions as a “power cycle”, clearing any software glitches that could cause communication issues with the remote.
You have two options:
- Unplug it from the wall for 30-40 seconds, then reconnect
- Press and hold the power button for 30 seconds (until the box fully shuts down), then turn it back on
All your settings and DVR recordings remain intact through the restart process. Just note – if a recording is in progress, it will be interrupted. Avoid restarting mid-recording.
-
4. Inspect for Physical Damage
Has your remote been dropped, sat on, or had liquid spilled on it recently? Carefully check for any visible signs of damage. Common issues include:
- Button(s) stuck in pressed position
- Blocked or damaged IR sensor
- Detached or missing battery cover
- Bent/broken housing components
For minor issues like stuck buttons, try cleaning the remote with compressed air. For irreparable damage, replacement is likely needed.
-
5. Remove Signal Obstructions
The IR beam between your remote and cable box must be uninterrupted for proper communication. Seemingly innocent objects like furniture or electronics can disrupt this:
Try adjusting the placement of devices and/or seating position to achieve line of sight. Although the remote has “Aim Anywhere” tech, staying within the 50-foot range greatly improves reliability.
-
6. Reset and Re-Pair Remote
Resetting your remote erases any programmed connection settings between it and your devices. Re-pairing then reestablishes communication:
To reset:
- Press and hold “D” + “A” buttons until light turns solid green
- Press the “9-8-1” buttons simultaneously
To repair:
- Hold “Xfinity” + “Info/i” buttons until light is solid green
- Enter the code shown on the TV screen with remote buttons
Follow on-screen prompts to complete the pairing process. This often resolves even stubborn remote blinking issues.
-
7. Contact Xfinity Support
If all else fails, Xfinity customer support can lend a hand:
- Visit xfinity.com and use the online chat.
- Call 1-800-XFINITY for phone support.
With their specialized troubleshooting expertise and account access, agents can get your remote functioning smoothly again.
Troubleshooting Tips for Specific Remote Light Behaviors
| Remote Light Behavior | Likely Cause | Recommended Actions to Resolve Issue |
|---|---|---|
| Solid green | No issue – remote is on and operating normally | |
| Blinking green then red | Connection/communication problem between remote and cable box | – Replace batteries <br>- Get within 50 foot operating range <br>- Clear line of sight obstructions <br>- Reset and re-pair remote |
| Blinking blue | Pairing problem between remote and cable box | Reset remote to factory defaults and re-pair }} |
FAQs About Xfinity Remote Blinking Issues
Here are answers to some frequently asked questions about blinking remotes:
- What does the blinking green and then red light on my Xfinity remote mean?
The blinking light is an indicator that your remote has lost its communication connection with the cable box or TV. This disconnection prompts the blinking pattern.
- What is the optimal light color/behavior on an Xfinity remote?
A solid green light signifies your remote is powered on and functioning properly. No light usually means batteries need replacement.
- Is there a special setup code for connecting Xfinity remotes to Samsung TVs?
Yes, Xfinity remote manuals provide compatibility codes for major TV brands like Samsung. Common codes are 12051, 10814, and 10766.
- Can I program an advanced voice remote if my TV doesn’t support HDMI-CEC?
You cannot utilize voice control capabilities with TVs lacking HDMI-CEC. However, you can still pair a remote to control basic power and volume functions.
- Why won’t my Xfinity remote work even after replacing batteries?
If new batteries don’t restore function, try resetting the remote to factory settings, and then repairing it with your devices. Persistent issues may require professional troubleshooting assistance.
More Related Guides:
- Frida Humidifier Blinking Blue
- Spectrum Modem Blinking Blue and White
- Ryobi Charger Blinking Red and Green
- Sonicare Toothbrush Light Blinking Rapidly
The Path to a Fully-Functioning Xfinity Remote
Dealing with incessant blinking or an entirely unresponsive remote can certainly be frustrating. But hopefully, now you have confidence that resolving these issues is usually straightforward.
With fresh batteries, attentive care, and smart troubleshooting, you’ll be channel surfing and streaming again in no time.
And if problems ever creep up again, you know just what steps to take for rapid fixes.
So grab your go-to snacks and get cozy on the couch for some binge-watching. A fully functional Xfinity remote makes enjoying hours of stellar entertainment bliss easy!


