You’re relaxing at home when you notice a red light blinking on your Goodman furnace.
Your heart skips a beat – what does this mean? Is your furnace about to break down? Will you be left in the cold?
Take a deep breath! I’m here to help you understand what that Goodman Furnace Red Light Blinking means and, more importantly, how to fix it.
As an HVAC technician with over 15 years of experience, I’ve seen this exact situation hundreds of times, and I promise you – it’s usually not as scary as it looks.
In most cases, you can fix Goodman Furnace Red Light Blinking issues yourself with some basic troubleshooting.
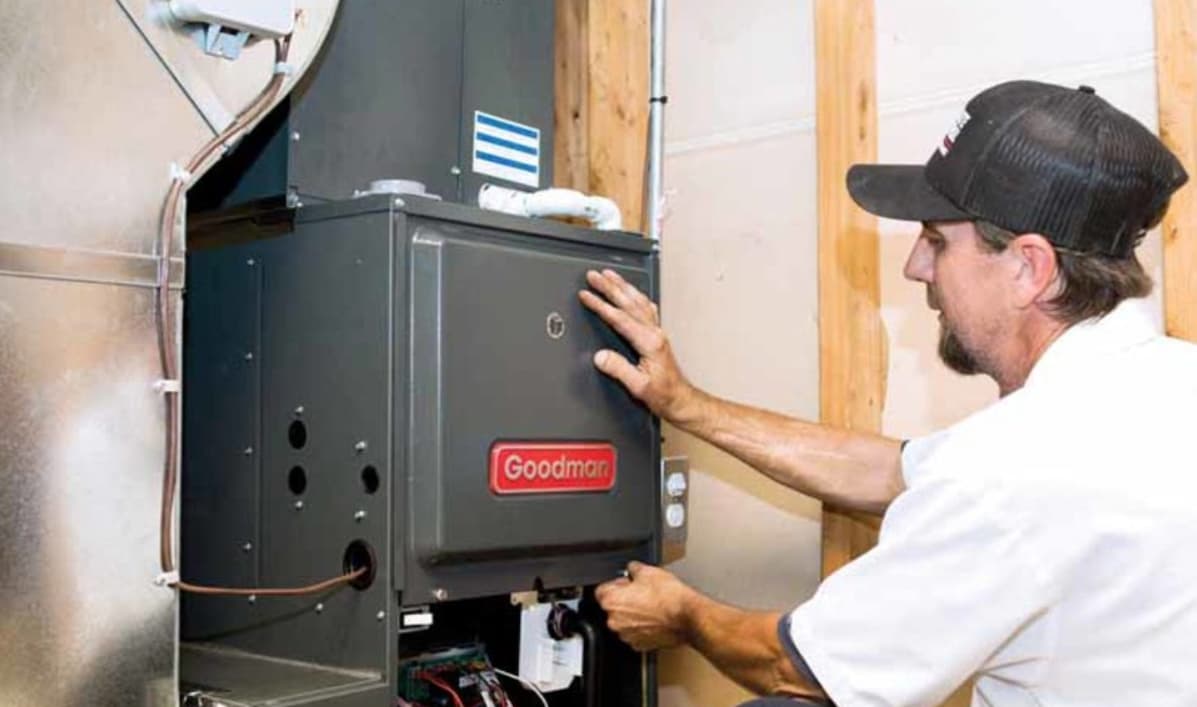
Goodman Furnace Red Light Blinking
Let’s dive into everything you need to know, step by step, in plain English that anyone can understand.
What Does the Red Blinking Light Actually Mean?
Think of your Goodman furnace’s red light as its way of talking to you. Just like when your car’s check engine light comes on, your furnace is trying to tell you something specific is wrong.
The red light is part of what we call the “diagnostic system.” It’s actually a pretty smart feature that Goodman built into their furnaces to help both homeowners and technicians figure out problems quickly.
When everything is working perfectly, you might see a steady green light or no light at all (depending on your model). But when that red light starts blinking, it’s your furnace’s way of saying, “Hey, I need some attention over here!”
Why Do Goodman Furnaces Have These Diagnostic Lights?
Back in the old days, diagnosing furnace problems was like playing detective without any clues. Technicians had to test multiple components and guess what might be wrong.
Goodman (and other modern furnace manufacturers) added these diagnostic lights to make troubleshooting much easier. Each blinking pattern corresponds to a specific problem, kind of like Morse code for your heating system.
This system helps in two ways:
- It gives you, the homeowner, a starting point for basic troubleshooting
- It helps HVAC professionals diagnose problems faster, which saves you money on service calls
Understanding Common Blinking Light Patterns
Here’s where it gets interesting. The Goodman Furnace Red Light Blinking patterns aren’t random – each one tells a specific story. Let me break down the most common patterns you’ll see:
- Single Blink (Pause) Single Blink (Repeat) This usually means there’s an issue with your ignition system or gas valve.
- Two Blinks (Pause) Two Blinks (Repeat) This typically indicates a problem with your pressure switch or venting system.
- Three Blinks (Pause) Three Blinks (Repeat) This often points to an issue with your flame sensor or ignition sequence.
- Four Blinks (Pause) Four Blinks (Repeat) This usually means there’s a problem with your limit switch (overheating protection).
- Rapid Continuous Blinking. This can indicate reversed polarity (electrical wiring issue) or a control board problem.
Step-by-Step Guide to Fix Goodman Furnace Red Light Blinking
Now let’s get into the good stuff – fixing these issues! I’ll walk you through each common problem and show you exactly how to address it safely.
Safety First – Always Remember This
Before we start any troubleshooting, let’s talk safety. I always tell my customers: your safety is worth more than any repair bill.
- Turn off the power to your furnace at the electrical panel before doing any work
- If you smell gas at any point, stop immediately and call your gas company
- Never attempt to repair gas valves or electrical components yourself
- When in doubt, call a professional
Problem 1: Single Blink Pattern (Ignition Issues)
When you see a single blink pattern, your furnace is usually having trouble lighting the gas or maintaining the flame.
Step 1: Check Your Air Filter This might sound too simple, but a dirty filter is the cause of about 70% of the furnace problems I see.
- Turn off your furnace completely
- Locate the air filter (usually near the return air duct)
- Remove the filter and hold it up to a light
- If you can’t see light through it easily, it needs to be replaced
Step 2: Inspect the Flame Sensor. The flame sensor is a small metal rod near the burner that confirms there’s a flame present.
- Locate the flame sensor (it looks like a thin metal rod extending into the burner area)
- Gently remove it (usually held by one or two screws)
- Clean it with fine steel wool or emery cloth until it’s shiny
- Reinstall it carefully
Step 3: Check for Proper Gas Supply
- Make sure your gas valve is fully open (handle parallel to the pipe)
- Check if other gas appliances in your home are working
- Look for any visible damage to gas lines (call a professional if you see any)
When to Call a Professional: If these steps don’t resolve the single blink pattern, you likely have a gas valve or ignition control issue that requires professional service.
Problem 2: Two Blink Pattern (Pressure Switch Issues)
A two-blink pattern usually means your furnace isn’t getting proper airflow or there’s a venting problem.
Step 1: Inspect Your Vents and Intake
- Go outside and check your furnace exhaust vent (usually a white PVC pipe)
- Remove any leaves, snow, or debris blocking the opening
- Check the intake vent (if you have a high-efficiency furnace) for blockages
- Make sure nothing is built too close to these vents
Step 2: Check Internal Ductwork
- Look for any disconnected or damaged ductwork in your basement or crawl space
- Make sure all ductwork connections are secure
- Check that the dampers in your ductwork are open
Step 3: Examine the Pressure Switch
- Locate the pressure switch (a small round component with plastic tubes connected)
- Check that the plastic tubes aren’t cracked or disconnected
- Listen for a “clicking” sound when the furnace tries to start
When to Call a Professional: Pressure switch problems often require specialized tools to diagnose properly. If cleaning vents doesn’t fix the two-blink pattern, call for service.
Problem 3: Three Blink Pattern (Flame Sensor Problems)
Three blinks usually indicate the flame sensor isn’t detecting the flame properly, even though gas is igniting.
Step 1: Clean the Flame Sensor Thoroughly
- Remove the flame sensor carefully (usually one screw)
- Use fine steel wool to clean the entire surface until it’s bright and shiny
- Don’t use sandpaper or harsh abrasives
- Make sure you clean the entire length of the sensor
Step 2: Check Sensor Position
- When reinstalling, make sure the sensor is positioned properly in the flame path
- It should extend into the burner area but not touch anything
- The tip should be about 1/2 inch from the burner
Step 3: Inspect Burner Area
- Look for any corrosion or buildup around the burners
- Check that burner ports aren’t blocked with dust or debris
- Ensure the burner is seated properly
When to Call a Professional: If cleaning and repositioning the flame sensor doesn’t fix the three-blink pattern, you may have a faulty sensor or control board issue.
Problem 4: Four Blink Pattern (Overheating Issues)
Four blinks mean your furnace is overheating and the limit switch is shutting it down for safety.
Step 1: Check Airflow Issues
- Replace your air filter immediately if it’s dirty
- Make sure all supply vents in your home are open
- Check that furniture or drapes aren’t blocking return air vents
Step 2: Inspect the Blower Motor
- Listen for unusual noises when the blower runs
- Check that the blower wheel isn’t loose or damaged
- Make sure the blower compartment is clean
Step 3: Examine Ductwork for Restrictions
- Look for crushed or damaged ducts
- Check that ductwork dampers are fully open
- Ensure return air pathways aren’t blocked
When to Call a Professional: Overheating can indicate serious problems with heat exchangers or blower motors. If basic airflow fixes don’t resolve four blinks, call for service immediately.
Problem 5: Rapid Blinking (Electrical Issues)
Rapid or continuous blinking often indicates electrical problems that typically require professional attention.
Step 1: Check Basic Electrical Connections
- Make sure the furnace is getting power (check circuit breakers)
- Ensure all electrical connections at the furnace are tight
- Check that the thermostat is working properly
Step 2: Test Thermostat
- Set your thermostat 5 degrees higher than the current temperature
- Listen for the furnace to respond
- Check the thermostat batteries if it’s battery-powered
When to Call a Professional: Rapid blinking usually indicates reversed polarity or control board problems that require professional electrical diagnosis.
Quick Reference Chart for Goodman Furnace Red Light Blinking
| Blink Pattern | Likely Problem | First Thing to Check | DIY Fix? |
|---|---|---|---|
| 1 Blink | Ignition/Gas Issues | Air filter, flame sensor | Yes |
| 2 Blinks | Pressure/Venting | Outside vents, ductwork | Partially |
| 3 Blinks | Flame Sensor | Clean the flame sensor | Yes |
| 4 Blinks | Overheating | Air filter, blocked vents | Partially |
| Rapid Blinks | Electrical Problems | Circuit breakers, thermostat | No |
When Should You Definitely Call a Professional?
While I love helping homeowners fix Goodman Furnace Red Light Blinking issues themselves, some situations always require professional help:
- Any time you smell gas
- If you’re not comfortable working around electrical components
- When basic troubleshooting doesn’t resolve the issue
- If you need to access internal furnace components
- When you see signs of corrosion or damage to the heat exchanger
Remember, a service call might cost you $100-200, but a mistake with gas or electrical components could cost you much more.
Preventive Tips to Avoid Future Red Light Issues
The best way to deal with Goodman Furnace Red Light Blinking problems is to prevent them in the first place.
Here are my top recommendations:
Regular Filter Changes
- Check your filter monthly during heating season
- Replace standard filters every 1-3 months
- Upgrade to high-quality pleated filters for better performance
- Mark the filter change dates on your calendar
Annual Professional Maintenance
- Schedule yearly tune-ups before heating season starts
- Professional cleaning extends equipment life significantly
- Early problem detection saves money on major repairs
- Many issues are caught before they cause red light situations
Keep Vents Clear
- Check outside vents monthly for blockages
- Trim vegetation away from furnace vents
- Remove snow and ice buildup in winter
- Ensure indoor vents aren’t blocked by furniture
Monitor Your System
- Listen for unusual noises during operation
- Watch for changes in heating performance
- Check that your thermostat is responding properly
- Note any unusual odors when the furnace runs
DIY Maintenance Tasks Every Homeowner Should Know
Here are simple maintenance tasks that can prevent many red light situations:
Monthly Tasks:
- Check and replace the air filter as needed
- Ensure vents and returns aren’t blocked
- Test thermostat operation
Seasonal Tasks:
- Clean around outdoor furnace vents
- Check that ductwork connections are secure
- Listen for unusual sounds during operation
Annual Tasks:
- Clean the flame sensor (if comfortable doing so)
- Check electrical connections for tightness
- Schedule professional maintenance
Understanding Your Goodman Furnace Model
Different Goodman furnace models may have slightly different diagnostic codes. Here’s how to find your specific information:
- Look for the model number on a label inside the furnace cabinet
- Check your owner’s manual for model-specific diagnostic codes
- Visit Goodman’s website for detailed troubleshooting guides
- Keep your manual handy for quick reference
Cost-Effective Solutions for Common Problems
Let’s talk money for a minute. Here’s what you can expect to spend on common solutions:
DIY Fixes:
- Air filter replacement: $5-25
- Flame sensor cleaning: Free (just your time)
- Basic maintenance supplies: $20-50
Professional Repairs:
- Service call diagnostic: $75-150
- Flame sensor replacement: $150-250
- Pressure switch replacement: $200-350
- Control board replacement: $300-600
The math is simple – learning to Fix Goodman Furnace Red Light Blinking issues yourself can save you hundreds of dollars per year.
Also Check:
Final Thoughts on Goodman Furnace Red Light Blinking
I hope this guide has helped demystify that scary red blinking light on your Goodman furnace.
Remember, most of the time, the solution is simpler than you think.
The key is understanding what your furnace is trying to tell you and taking a systematic approach to troubleshooting.
Start with the simple stuff – check your filter, clean your flame sensor, and make sure vents are clear.
When you successfully fix Goodman Furnace Red Light Blinking problems yourself, you’re not just saving money – you’re also gaining confidence and knowledge about your home’s heating system.
That knowledge will serve you well for years to come.
Most importantly, never hesitate to call a professional when you’re unsure about something. Your safety and your family’s comfort are worth far more than the cost of a service call.
Stay warm, stay safe, and remember that the red light isn’t there to scare you. It’s there to help you keep your furnace running smoothly for years to come.